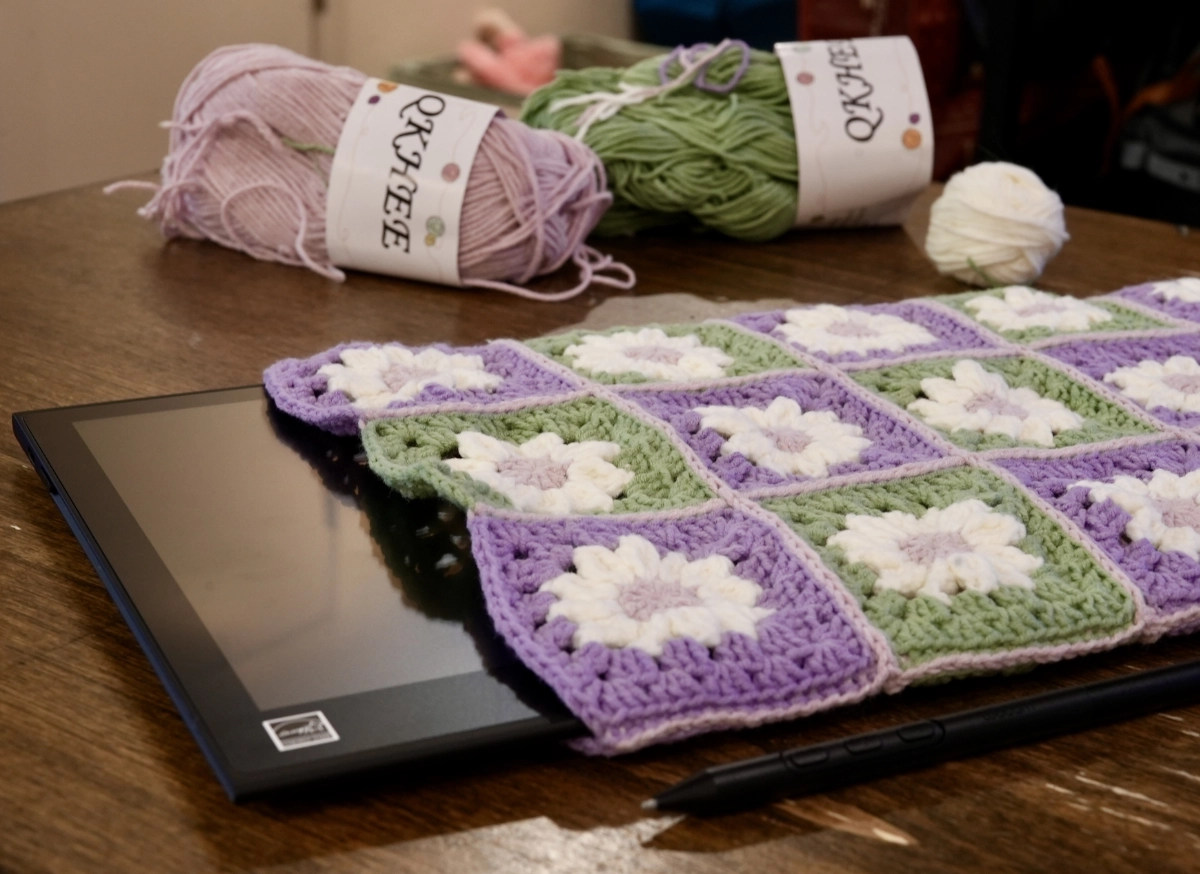
I got a Wacom Movink drawing tablet for Christmas and while I’m wow-ed by the quality, the lightweight design, and surprising thinness of the device, I can’t help but shake the feel that it is delicate and easy-to-break, even though I think the product construction and material are definitely durable and high quality. It’s just me. A mental association with the size + weight in my hands.
I was going to buy Wacom’s cover (currently ~$50 on their site), but didn’t like that it didn’t include a way to store the pen or USB-C cable…. The Movink is too new (and perhaps too niche) to have 3rd party tablet cases I could get instead… so rather than spending hours trying to find a generic one that might be compatible with the Movink AND keep its slim footprint (because this will have to be packed alongside a laptop), I decided… why not make one?
I also got a giant bag of yarn for Christmas… a 4-ply acrylic/cotton blend in assorted pastel colors. And I’ve been getting in to crochet as a hobby lately. So decided to try making a variation on the Granny Square I’ve been seeing online and sew them together into a sleeve.
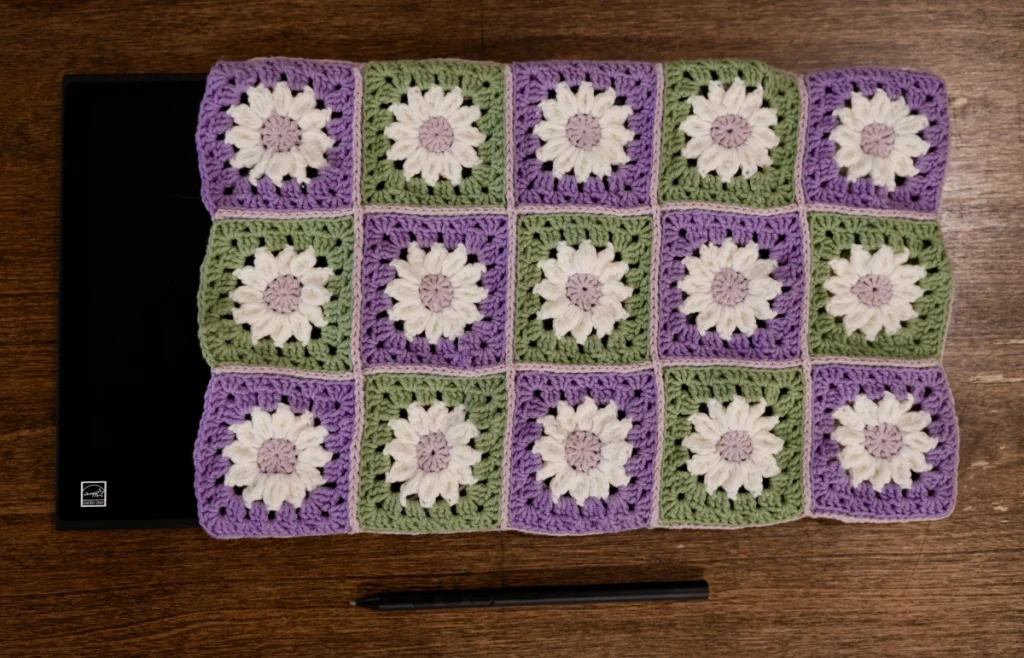
I am SO happy with how this turned out…! Though… I still haven’t solved for the pen and cable storage issue yet. And the finished product is surprisingly heavier than I expected. Lol… it’s probably better to just buy the official Wacom one, but hey! Sometimes it’s nice to have something custom and personal to yourself! Especially when you like the result. XD
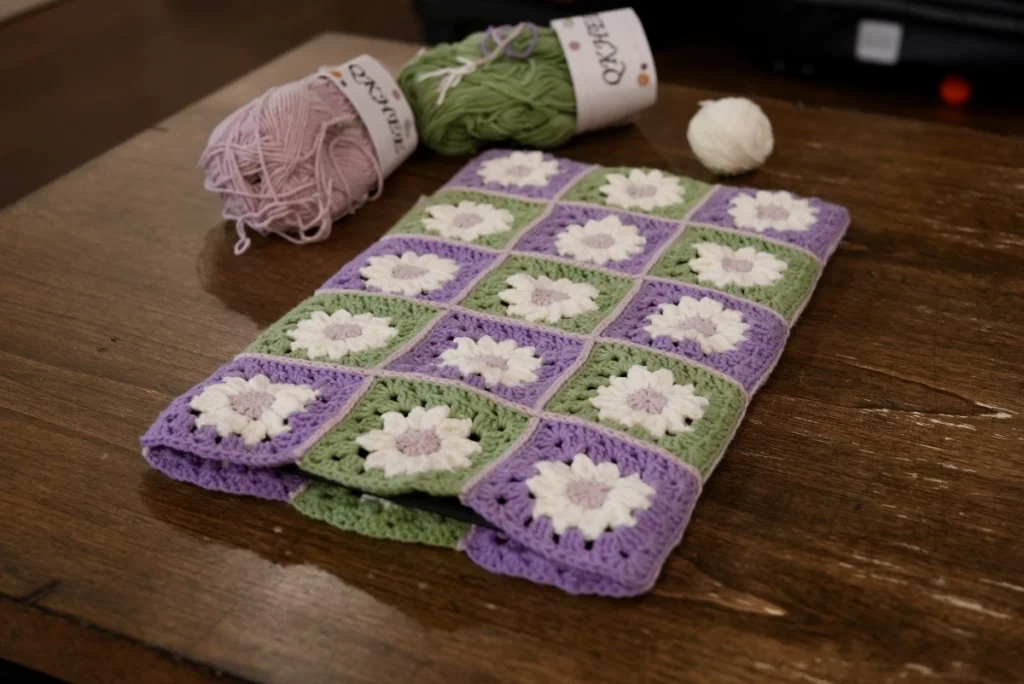
Pattern Info
I don’t think I’ll be sharing any official pattern for this since it was pretty ad-hoc and just combining stuff I learned on others’ sites. But here are the links I found most valuable when putting this together.
Daisy Granny Squares: Hobbi Granny Square – Daisy
I modded the center to be a simple double-crochet magic ring instead of the star-type pattern they provide. There are many other flower-center tutorials online that have variant techniques, but this is simply the one I found first.
Slip Stitch Join: Maisie and Ruth – Flat Slip Stitch Seam
It’s a common joining technique, but I like her step-by-step images that helped me understand how to complete the stitch.
EDIT: Jan 6, 2025
I added the loops for cable and pen attachments.
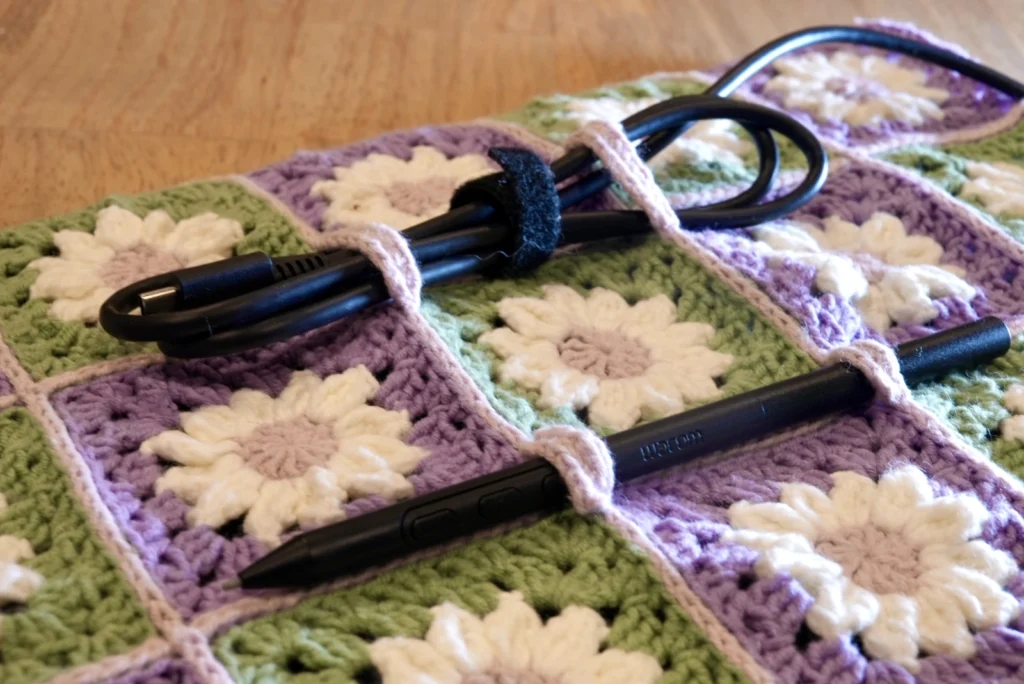
I had this whole idea to make a whole pen sleeve but found it too difficult to sew/crochet onto a granny square with its stitches’ changing angles, but found making these little loops along the joining seems worked wonderfully.
The loops are made with single chains connected the joining seam in the same pink yarn, followed by single crochets wrapping around them on both ends… it was honestly ad-hoc, but consistent so it came out nicely.
What I like is that I can keep the cable plugged into the tablet and just wrap the end into this holder and carry it off!
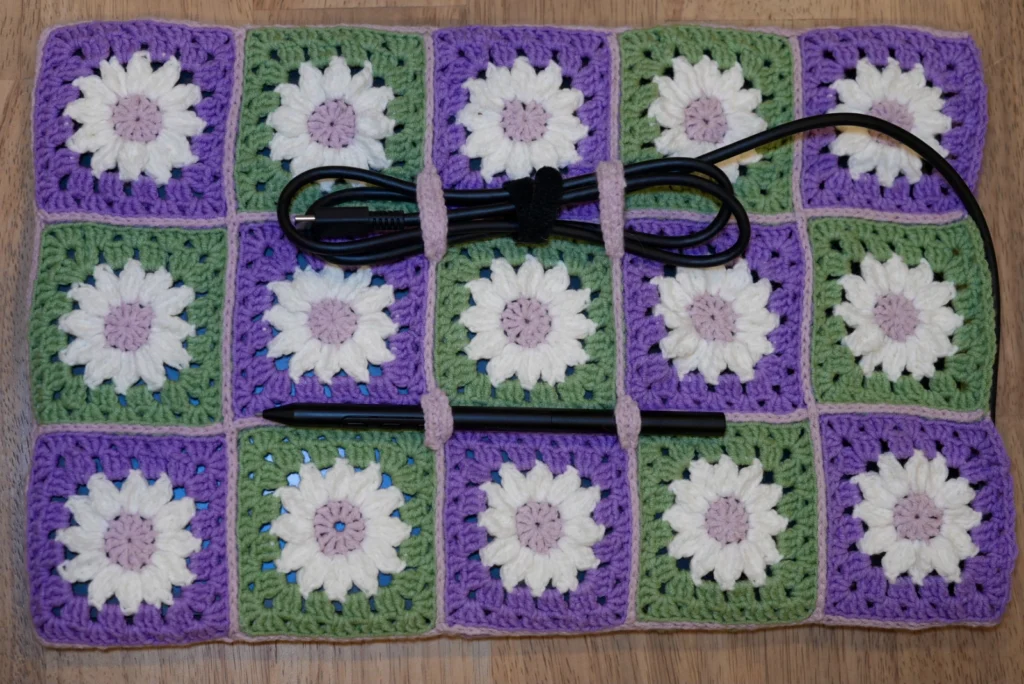
Anyways, that’s it for now. I tested this “in the field” yesterday and it was so nice to have. I did remove the velcro cable tie that came included with the Movink because it was getting caught in the loops. But otherwise this setup is going to make travel with the tablet so much easier.
